Overview
The “Promote Radiographs” feature allows you to generate a high-quality, full-resolution version of a radiograph for detailed analysis or export.Step-by-Step Instructions
1. Select the Radiograph
In the left Data panel, ensure that the Projections object you want to promote a radiograph from is selected. This confirms that you’re working with the correct image.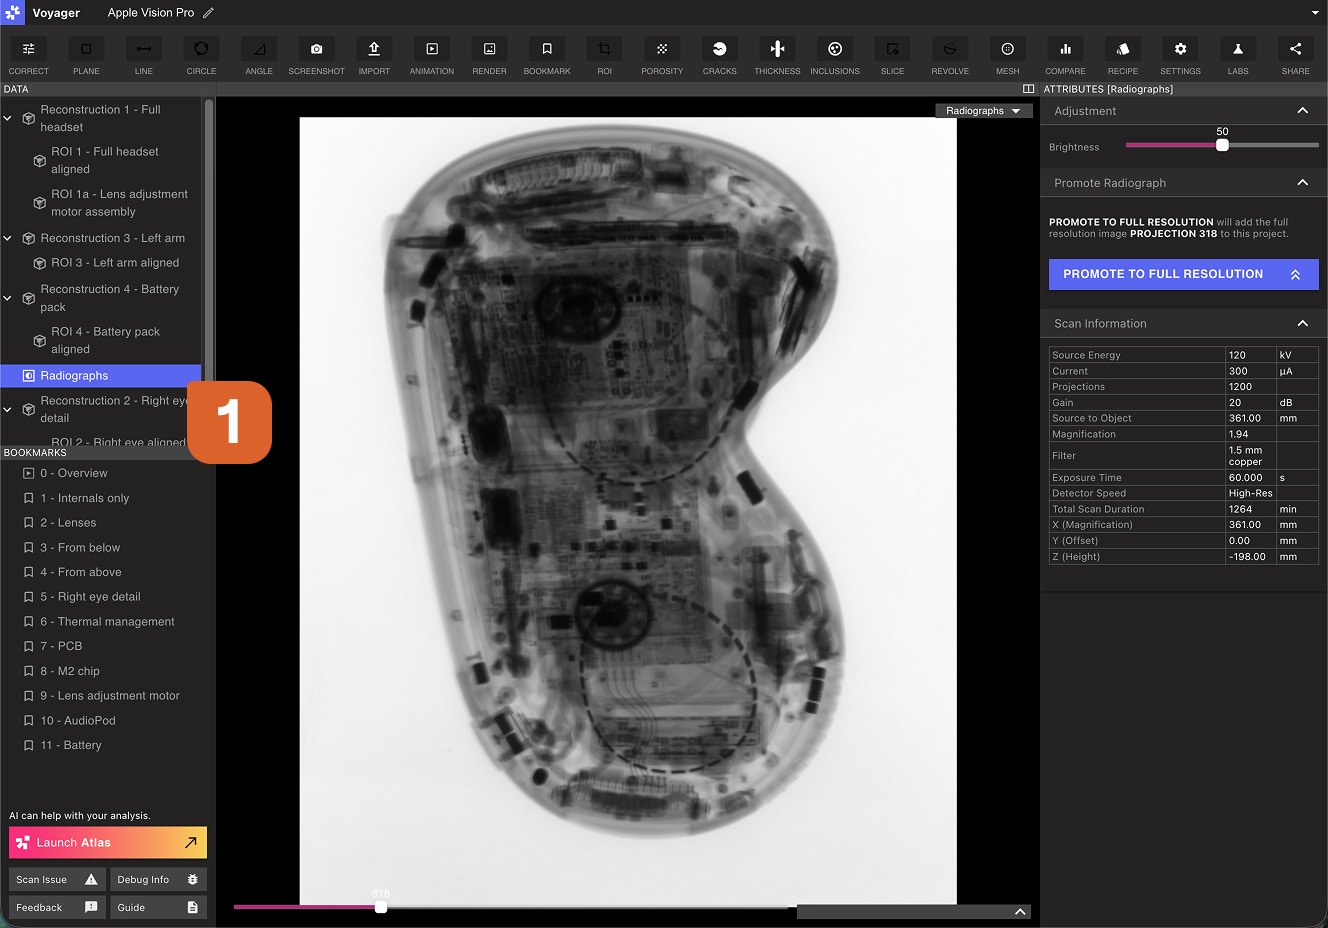
2. Navigate to Your Desired View
Use the slider to adjust the radiograph and find the angle you wish to capture at full resolution. This view will be used for the high-resolution export.
3. Adjust Brightness (Optional)
Before promoting, you can fine-tune the brightness of the image to optimize visibility. Make any desired adjustments at this stage.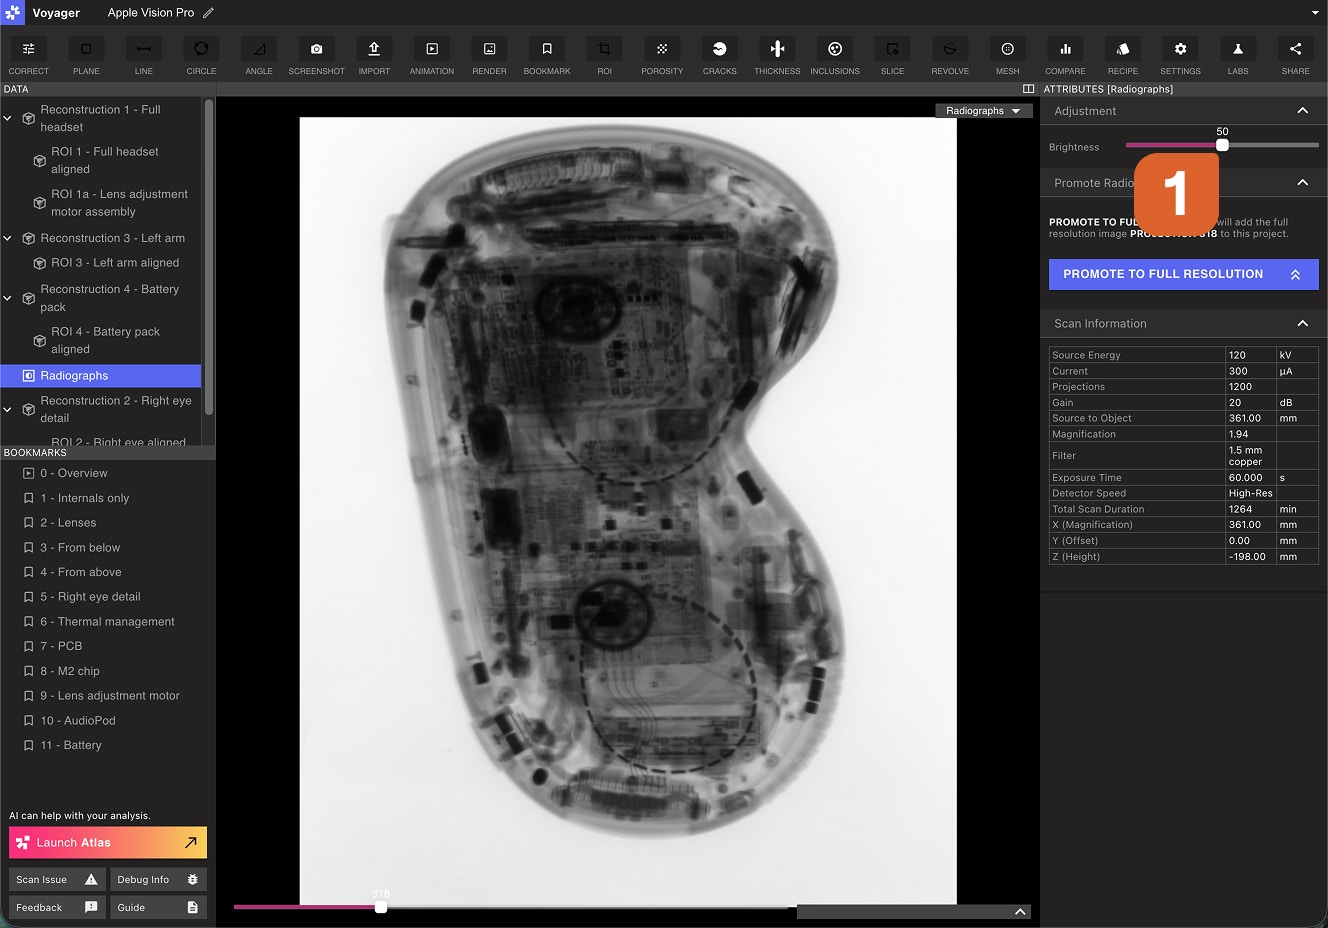
4. Promote to Full Resolution
Select “PROMOTE TO FULL RESOLUTION” to begin the creation of a high-resolution radiograph.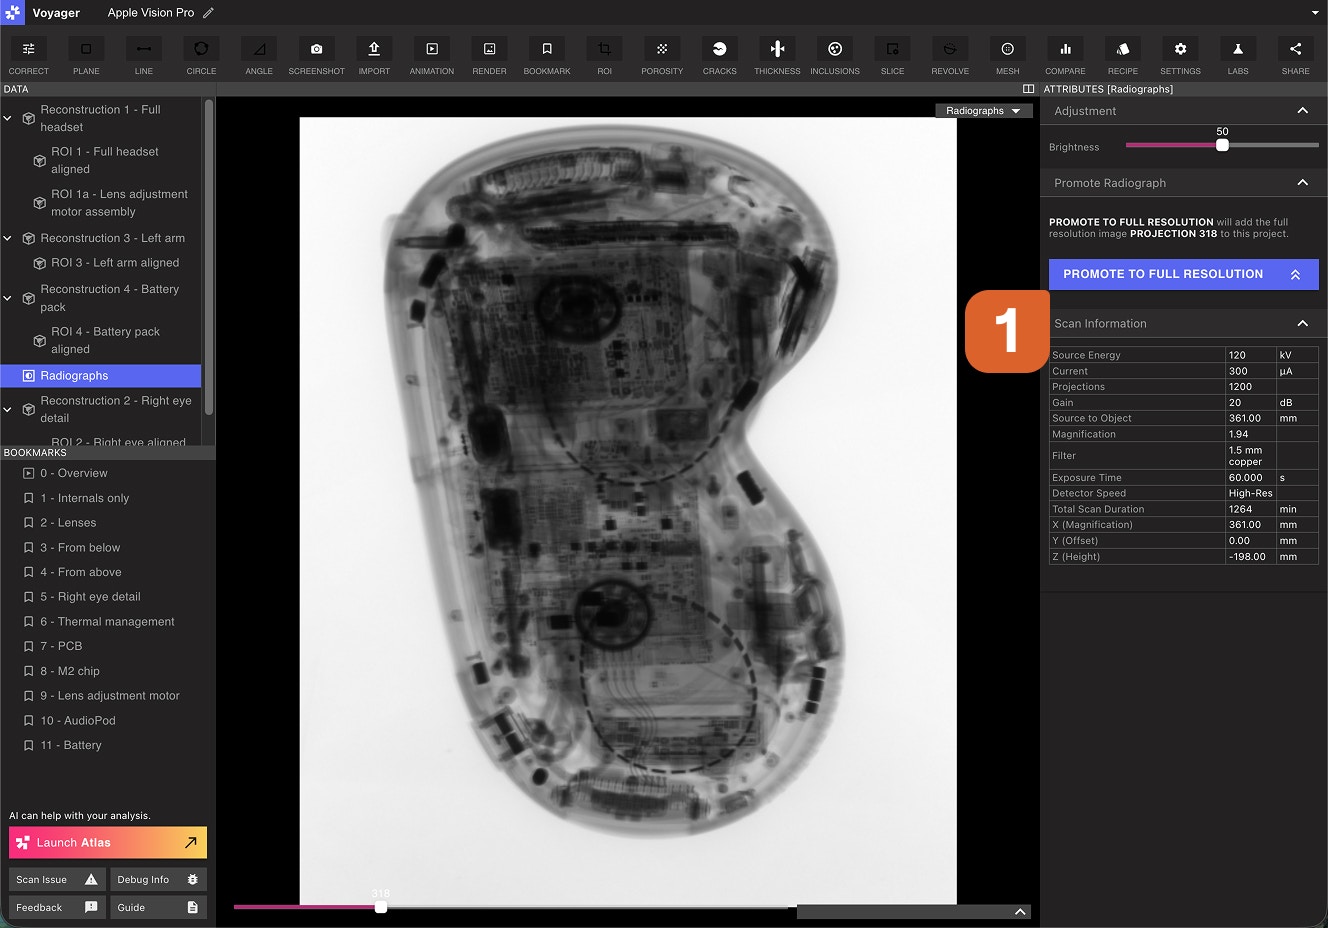
5. Import the Full Resolution Image
Once processing is complete, a notification will appear at the top of the screen. Click the UPDATE button to import the new full-resolution radiograph image.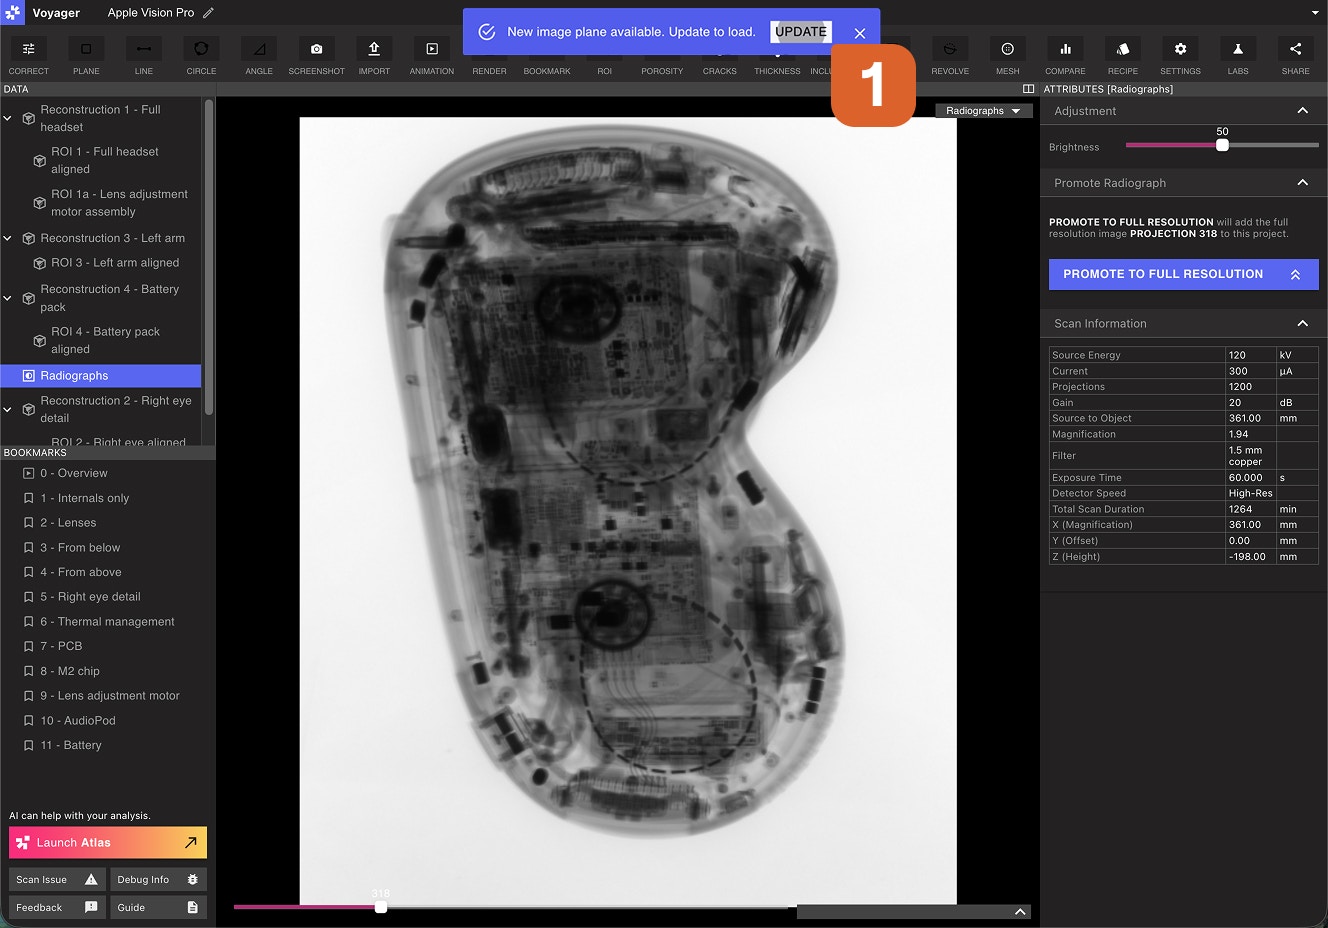
The full-resolution image will nest under the original radiograph in your data hierarchy.
6. Export the Image
In the left Data panel, select the newly-created full-resolution radiograph. Select the DOWNLOAD button to export the image as a TIFF file.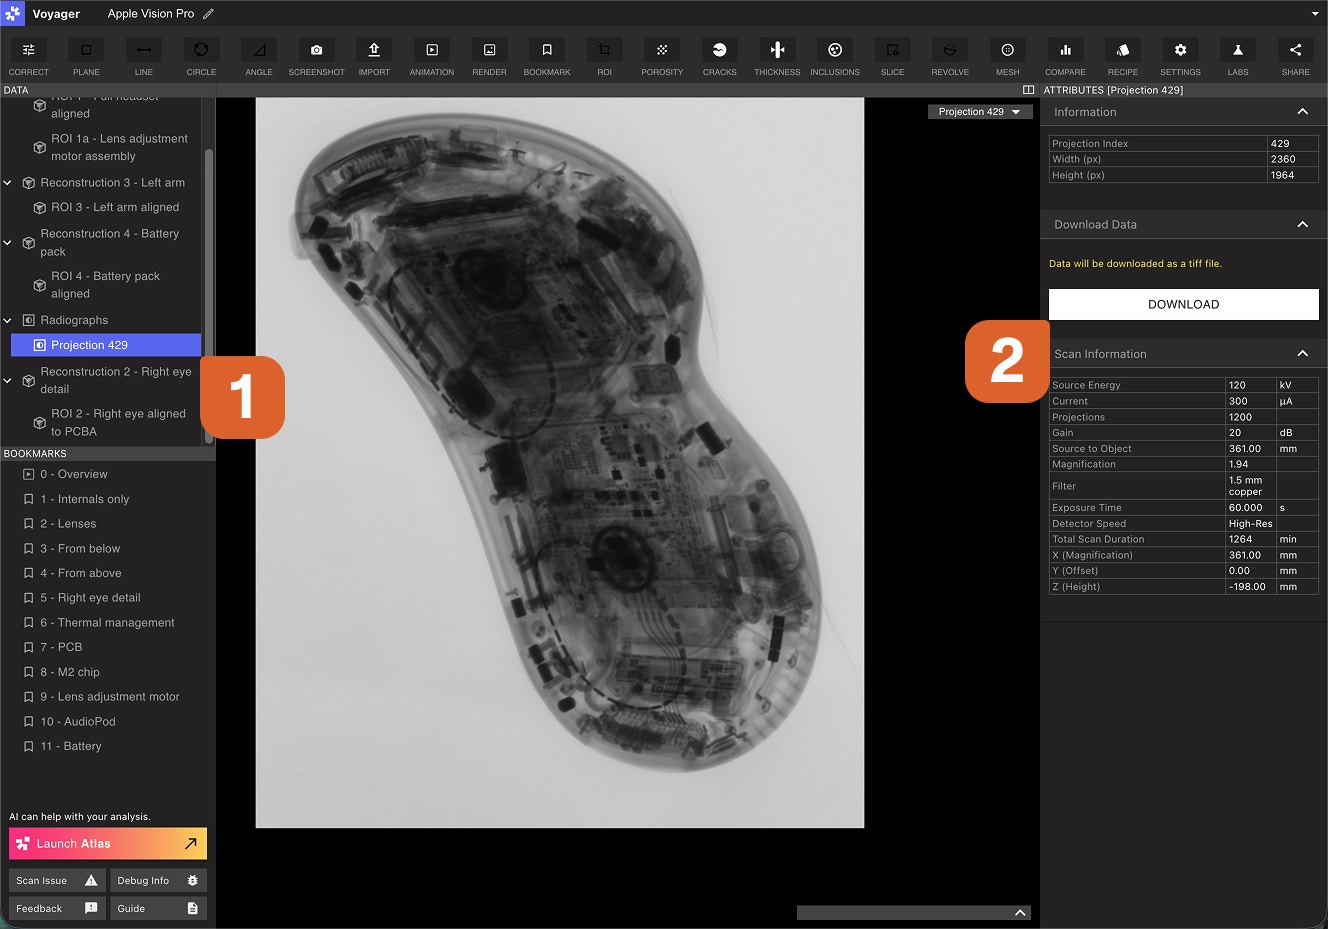
Tips
- Full-resolution images may take a moment to process depending on the size and complexity of the radiograph
- Ensure your view is properly positioned before promoting, as the exported image will match your current view
- The TIFF format preserves the highest quality for imaging applications
Troubleshooting
If you encounter issues during radiograph promotion:- Check that your scan data is complete and properly reconstructed
- Verify that you have sufficient system resources
- Ensure your export settings are compatible with your target format
- Contact support if problems persist